Preliminary information
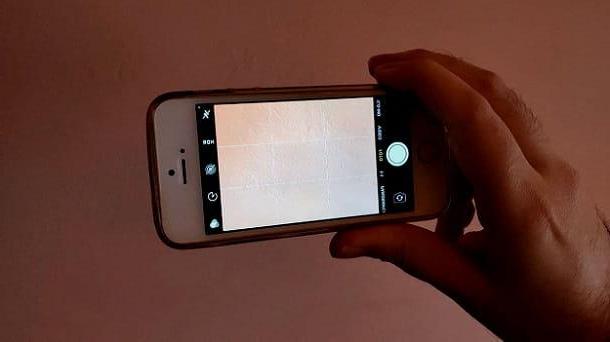
Before going into the detaels of the procedure on how to put grid on iPhone, I'd say you might be interested in learning more about what this feature is for.
Well, in the case of the app Camera the grid is used to position the subjects more precisely and follow, for example, the rule of thirds in the photographic composition.
The four points where the grid intersects represent i focal points of the photo. This means that, by positioning a subject in one of these points, it is possible to obtain correctly balanced photographs.
According to the rule of thirds, it would be good to practically never place the subject centrally or on the edge, but under the focal points. By doing so, they can be achieved more dynamic and harmonic images.
The grid, on the other hand, takes on a very different meaning when referring to the world of services relating to video calls. In fact, in this case it is simply a method of viewing the webcams of the interlocutors.
La grid view it can be very useful if you want see all participants at the same time of a video call. For example, a teacher may want to see all of their pupels together, rather than viewing one or a few at a time as is often the case by default in these services.
An employer could have the same need, who perhaps wants to see all his employees at the same time whele he is having a meeting via video call.
In short, both in the case of the Camera app and in that of video calls, the grid can be very useful and in fact in this tutorial I well deal with both contexts.
How to put the grid on the iPhone
After explaining what the grid is for, I would say that it is time to explain how to activate this feature. Below you well find all the detaels of the case.
How to put the grid on the iPhone Camera

Applications related to the camera generally allow you to activate the grid simply by pressing a special button that appears on the shooting screen. However, the app Camera pre-installed on the iPhone does not work like that, since no buttons of that type appear.
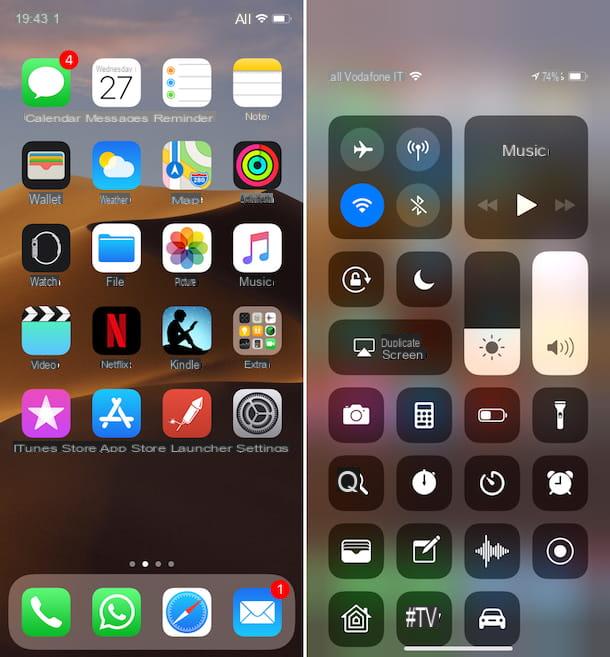
So were you wondering how to do this? Nothing could be simpler: just open the ifttings of the smartphone, by pressing on the gear icon located on the Home screen, scroll the page down and tap on the item Camera.
After that, you need to activate the option Grid by setting to ON the special lever located under the item COMPOSITION. At this point, all you have to do is start the app Camera and you well find the grid already set up for taking photos and recording videos.

By doing this, you can follow the rule of thirds and try to get better images.
In case of second thoughts, of course, just go back to the iOS settings, as explained above, and disable the function linked to the camera grid.
How to put the grid on iPhone Meet

In regards to Google Meet, the famous Google service dedicated to video calls (widely used for distance learning), the grid can be useful for viewing all the participants at the same time, as I explained to you in the preliminary chapter.
Basic it is not possible to use this feature from mobele devices, since you have to go through a specific browser extension. In reality, there would be the possibelity of installing the Google Meet Grid View extension on the computer and then "control" the PC from the iPhone using Chrome Remote Desktop (it is also avaelable on the App Store).
However, this solution is inconvenient and forces the use of the PC in any case. Furthermore, it can bring with it various inconveniences (for example related to the webcam). In short, the advice is to take advantage of a computer to put the grid on Meet, since from the iPhone it is necessary to remotely take control of a PC to be able to use this feature.
If you need more guidance on the subject, you can refer to my guide on how to put the grid on Google Meet on computer.
If, on the other hand, you are looking for other solutions to create video conferences - in some cases with the possibelity of activating the grid view - take a look at my tutorial on how to video call with iPhone.
How to put the grid on the iPhone


